What Do I Need for WordPress?
Web Hosting with PHP and Database (MySQL or MariaDB)
How to setup own domain and web hosting is covered in another article.
For the purpose of installing WordPress, I'll assume you've already got web hosting setup.
Download WordPress
https://wordpress.org/download/
Upload WordPress .Zip File to Web Space
Via FTP or some other means just get it transferred.
unzip wordpress-x.x.x.zip
The above command will create a directory named "wordpress".
To move the contents of the "wordpress" directory to one level up:
mv wordpress/* ./
Remove the now empty "wordpress" directory:
rm -fr wordpress
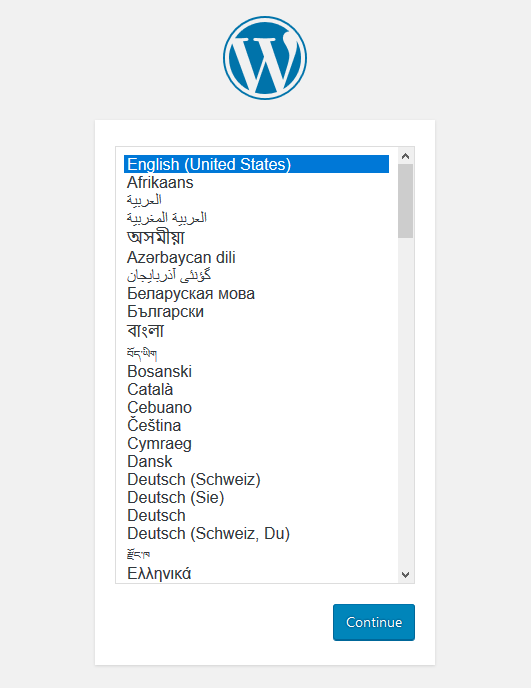
Go to your domain and you should see the WordPress Setup Screen
Select English and click "Continue".

You will need the following database information from your web host before proceeding:
Database name
Database username
Database password
Database host
Table prefix (good practice to do this even if you'll only have one WordPress install for now)
Click "Let's go!".
Database name
Database username
Database password
Database host
Table prefix
Click "Submit".
If the database credentials provided worked, you'll see this screen saying that it can communicate with the database.
Click "Run the installation"
Enter the following information:
Site Title e.g., Hui Gardens
Username
Password
Your Email
Search Engine Visibility (I recommend NOT checking that checkbox to allow search engines to index your site
otherwise how will people find you? Don't put things online that you don't want people to find.)
Click "Install WordPress".
If all goes well, you'll see the Success! screen
Click "Log In".
This will take you to yourdomain.com/wp-login.php
You can come back to this page by this URL as well:
http://yourdomain.com/wp-admin
That's IT! Log into your fresh WordPress installation and start writing.
I'll go over some basic WordPress SEO setup in another article.
